Get to Know Gabriela Lacerda – Full Performance | Miss Universe Brazil 2025

Watch the complete performance of Gabriela Lacerda, crowned Miss Universe Brazil 2025, featuring her runway, evening gown, Q&A, and crowning moment. The event took place on February 13, 2025, at the Coliseu in Barueri, São Paulo. Representing Piauí, Gabriela made history by winning Brazil’s national crown for the second time in her state’s history. She is also an ambassador for Mães da Sé, an NGO that helps families find missing loved ones. Gabriela will represent Brazil at Miss Universe 2025 in Thailand this November. ✨ Don’t forget to like, comment your favorite moment, and subscribe for more pageant videos!

Compilation video courtesy of Miss Universe Brazil

I contribute content to BeautyPOVPH and help write some of its features. Your support means a lot—please consider liking, commenting, or subscribing to our YouTube channel. It helps us continue bringing you the latest updates in the world of pageantry and beyond.

How to Apply for a Qatar Transit Visa via Qatar Airways (For Filipinos with a Layover in Doha)

✈️ Planning a Layover in Doha? Here’s How Filipinos Can Apply for a Qatar Transit Visa via Qatar Airways

If you’re a Filipino traveler flying with Qatar Airways and have a long layover in Doha, why not turn it into an opportunity to explore Qatar? Thankfully, Qatar offers a free transit visa for eligible passengers — including Philippine passport holders — provided you meet certain requirements. Here’s a step-by-step guide on how to apply for a Qatar transit visa via Qatar Airways.

🛂 What is the Qatar Transit Visa?

The Qatar Transit Visa is a free visa offered by the Qatari government in coordination with Qatar Airways. It allows passengers with layovers between 5 and 96 hours to enter Qatar and explore the city of Doha instead of staying inside the airport.

Visa Fee: FREE
🕐 Validity: 5 to 96 hours
📍 Eligibility: Must be flying with Qatar Airways on both legs of your journey

🇵🇭 Are Filipinos Eligible?

Yes! As a Philippine passport holder, you are eligible to apply for the Qatar Transit Visa as long as you meet the following conditions:

  • Your layover in Doha is between 5 and 96 hours
  • You are flying with Qatar Airways only (not mixed carriers)
  • You apply for the visa at least 7 days before your departure

📝 Requirements for Filipino Travelers

Here are the documents you’ll need to prepare:

  • A valid Philippine passport (at least 6 months before expiration)
  • A confirmed Qatar Airways ticket with a stopover in Doha (5–96 hours)
  • A confirmed onward ticket to a third country
  • Hotel booking in Qatar (if staying overnight)
  • Transit visa application via Qatar Airways website

🔗 How to Apply for a Qatar Transit Visa (Step-by-Step)

Step 1: Book Your Flight with Qatar Airways

Ensure that both your arrival and departure flights to/from Doha are operated by Qatar Airways.

Step 2: Go to the Qatar Airways Transit Visa Page

Visit the official Qatar Airways Transit Visa portal or directly through their “Manage Booking” feature.

Step 3: Submit the Visa Application

Apply at least 7 days before departure (but not more than 90 days). You’ll need to:

  • Log in with your booking reference number
  • Fill out the online visa application form
  • Upload your passport and flight details
  • Upload hotel booking confirmation if applicable

Step 4: Wait for Approval

You will receive a response via email within a few business days. If approved, download and print your transit visa to bring with you during your trip.

🏨 Optional: Book a Transit Hotel with Qatar Airways

If your layover includes an overnight stay, you can also book a hotel in Doha through the Qatar Airways Stopover Program, which offers discounted or even free hotel stays for eligible itineraries.

More info here: https://www.qatarairways.com/en/offers/stopover-in-qatar.html

💡 Tips Before You Travel

  • Your visa is only valid once – make sure you don’t leave the airport unless you’re planning to use the layover to explore Doha.
  • Stay updated with entry rules and health regulations (especially if there are COVID-19 or travel health protocols).
  • Use your layover to visit iconic spots like the Museum of Islamic Art, Souq Waqif, or take a short desert safari.

📌 Final Thoughts

The Qatar Transit Visa is an excellent way for Filipinos to make the most of a long layover in Doha. Whether you want to explore the city or just enjoy a comfortable rest between flights, this free visa option makes your journey more enjoyable — and memorable!

💬 Have You Tried the Qatar Transit Visa?

Let us know in the comments below! And don’t forget to share this guide with fellow Filipino travelers who might benefit from a Doha stopover.

How to Apply for an Australian Tourist Visa in the Philippines (2025 Step-by-Step Guide)

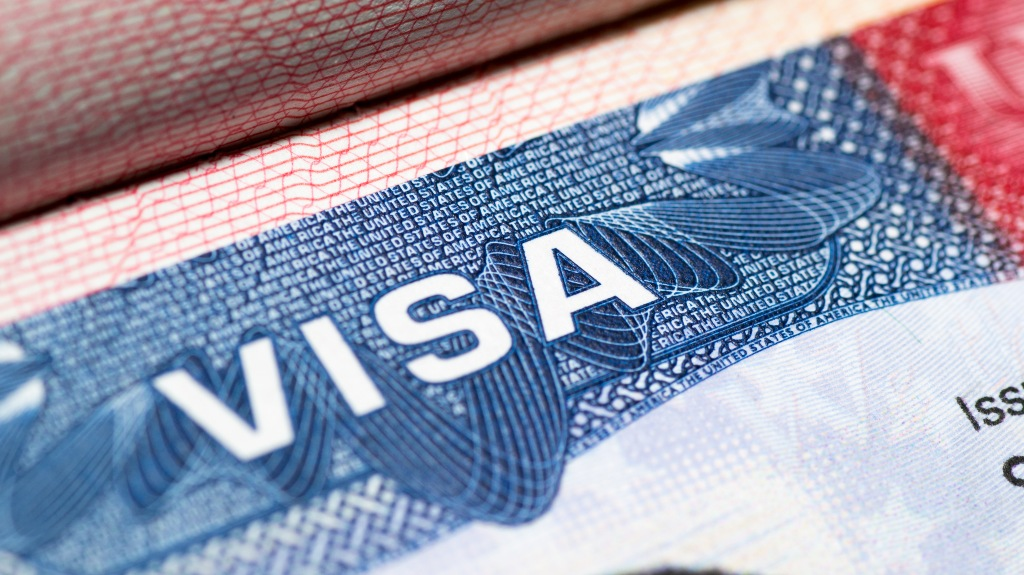
If you’re a Filipino planning a vacation to Australia, the first thing you need is a valid Australian Visitor Visa (subclass 600). This visa allows you to visit Australia for tourism, to see family or friends, or for short-term non-work purposes. Here’s your updated 2025 guide to applying for an Australian Tourist Visa from the Philippines.

✅ Who Needs an Australian Tourist Visa?

Philippine passport holders must apply for a Visitor visa (subclass 600) before entering Australia. The visa is typically valid for 3, 6, or 12 months, depending on the case.

📋 Step-by-Step Guide to Apply for an Australian Tourist Visa (2025)

Step 1: Create an ImmiAccount

The entire visa application is processed online via the Australian Government’s Department of Home Affairs website.

Tip: Use a working and frequently-checked email as all communications will be sent here.

Step 2: Prepare the Required Documents

Here’s a list of common requirements for a tourist visa (subclass 600):

Personal Documents:

  • Valid Philippine passport (must be valid for at least 6 months)
  • Passport-size photo (45mm x 35mm, white background)
  • Birth certificate (PSA-issued)
  • Valid IDs (government-issued)

Financial Proof:

  • Bank statements (last 3 months)
  • Certificate of employment (with leave approval)
  • Payslips (last 3 months)
  • Income tax return (ITR)

Travel Plans:

  • Travel itinerary (not mandatory, but helpful)
  • Hotel bookings (or invitation letter if staying with a friend/family)
  • Roundtrip flight reservation (optional but recommended)

Supporting Documents (if applicable):

  • Invitation letter from Australian sponsor
  • Copy of sponsor’s passport/visa
  • Evidence of relationship to sponsor

Note: All documents must be scanned and uploaded in PDF or JPG format.

Step 3: Start Your Online Application

Once your documents are ready:

  • Log in to your ImmiAccount
  • Select “New Application” > “Visitor” > “Visitor Visa (600)”
  • Choose the “Tourism” stream
  • Fill in all required personal, travel, and background information

Important: Be honest with your answers. Misrepresentation may lead to visa refusal.

Step 5: Pay the Visa Fee

As of 2025, the Visitor visa (subclass 600) application fee is approximately AUD 190 (subject to currency conversion). Payment can be made via:

  • Credit/debit card
  • PayPal

Once payment is successful, you’ll receive a Transaction Reference Number (TRN). Save this for tracking your application.

Step 6: Biometrics Appointment (if required)

After submission, you might receive a Biometrics Request.

If so, you’ll need to book an appointment at a VFS Global center:

📍 VFS Global – Manila
Mezzanine Floor, Ecoplaza Building, Don Chino Roces Ave., Makati City

📍 VFS Global – Cebu
9th Floor, Keppel Center, Cebu Business Park, Cebu City

  • Bring your passport and Biometrics Instruction Letter (BIL)
  • Pay the biometric service fee (approx. PHP 900+)

Step 7: Wait for the Visa Decision

Processing times can vary. On average, tourist visa applications from the Philippines take:

  • 15 to 30 working days, depending on individual circumstances.

You will receive an email notification with the decision. If approved, your visa grant notice will include:

  • Visa grant number
  • Entry conditions
  • Validity dates

Note: No visa sticker is placed on your passport. It’s all electronic.

✅ Tips for a Successful Application

  • Show strong ties to the Philippines (job, family, properties, etc.)
  • Provide clear proof of financial capacity
  • Avoid submitting fake documents
  • Apply at least 2 months before your travel date

✈️ Ready to explore Australia?

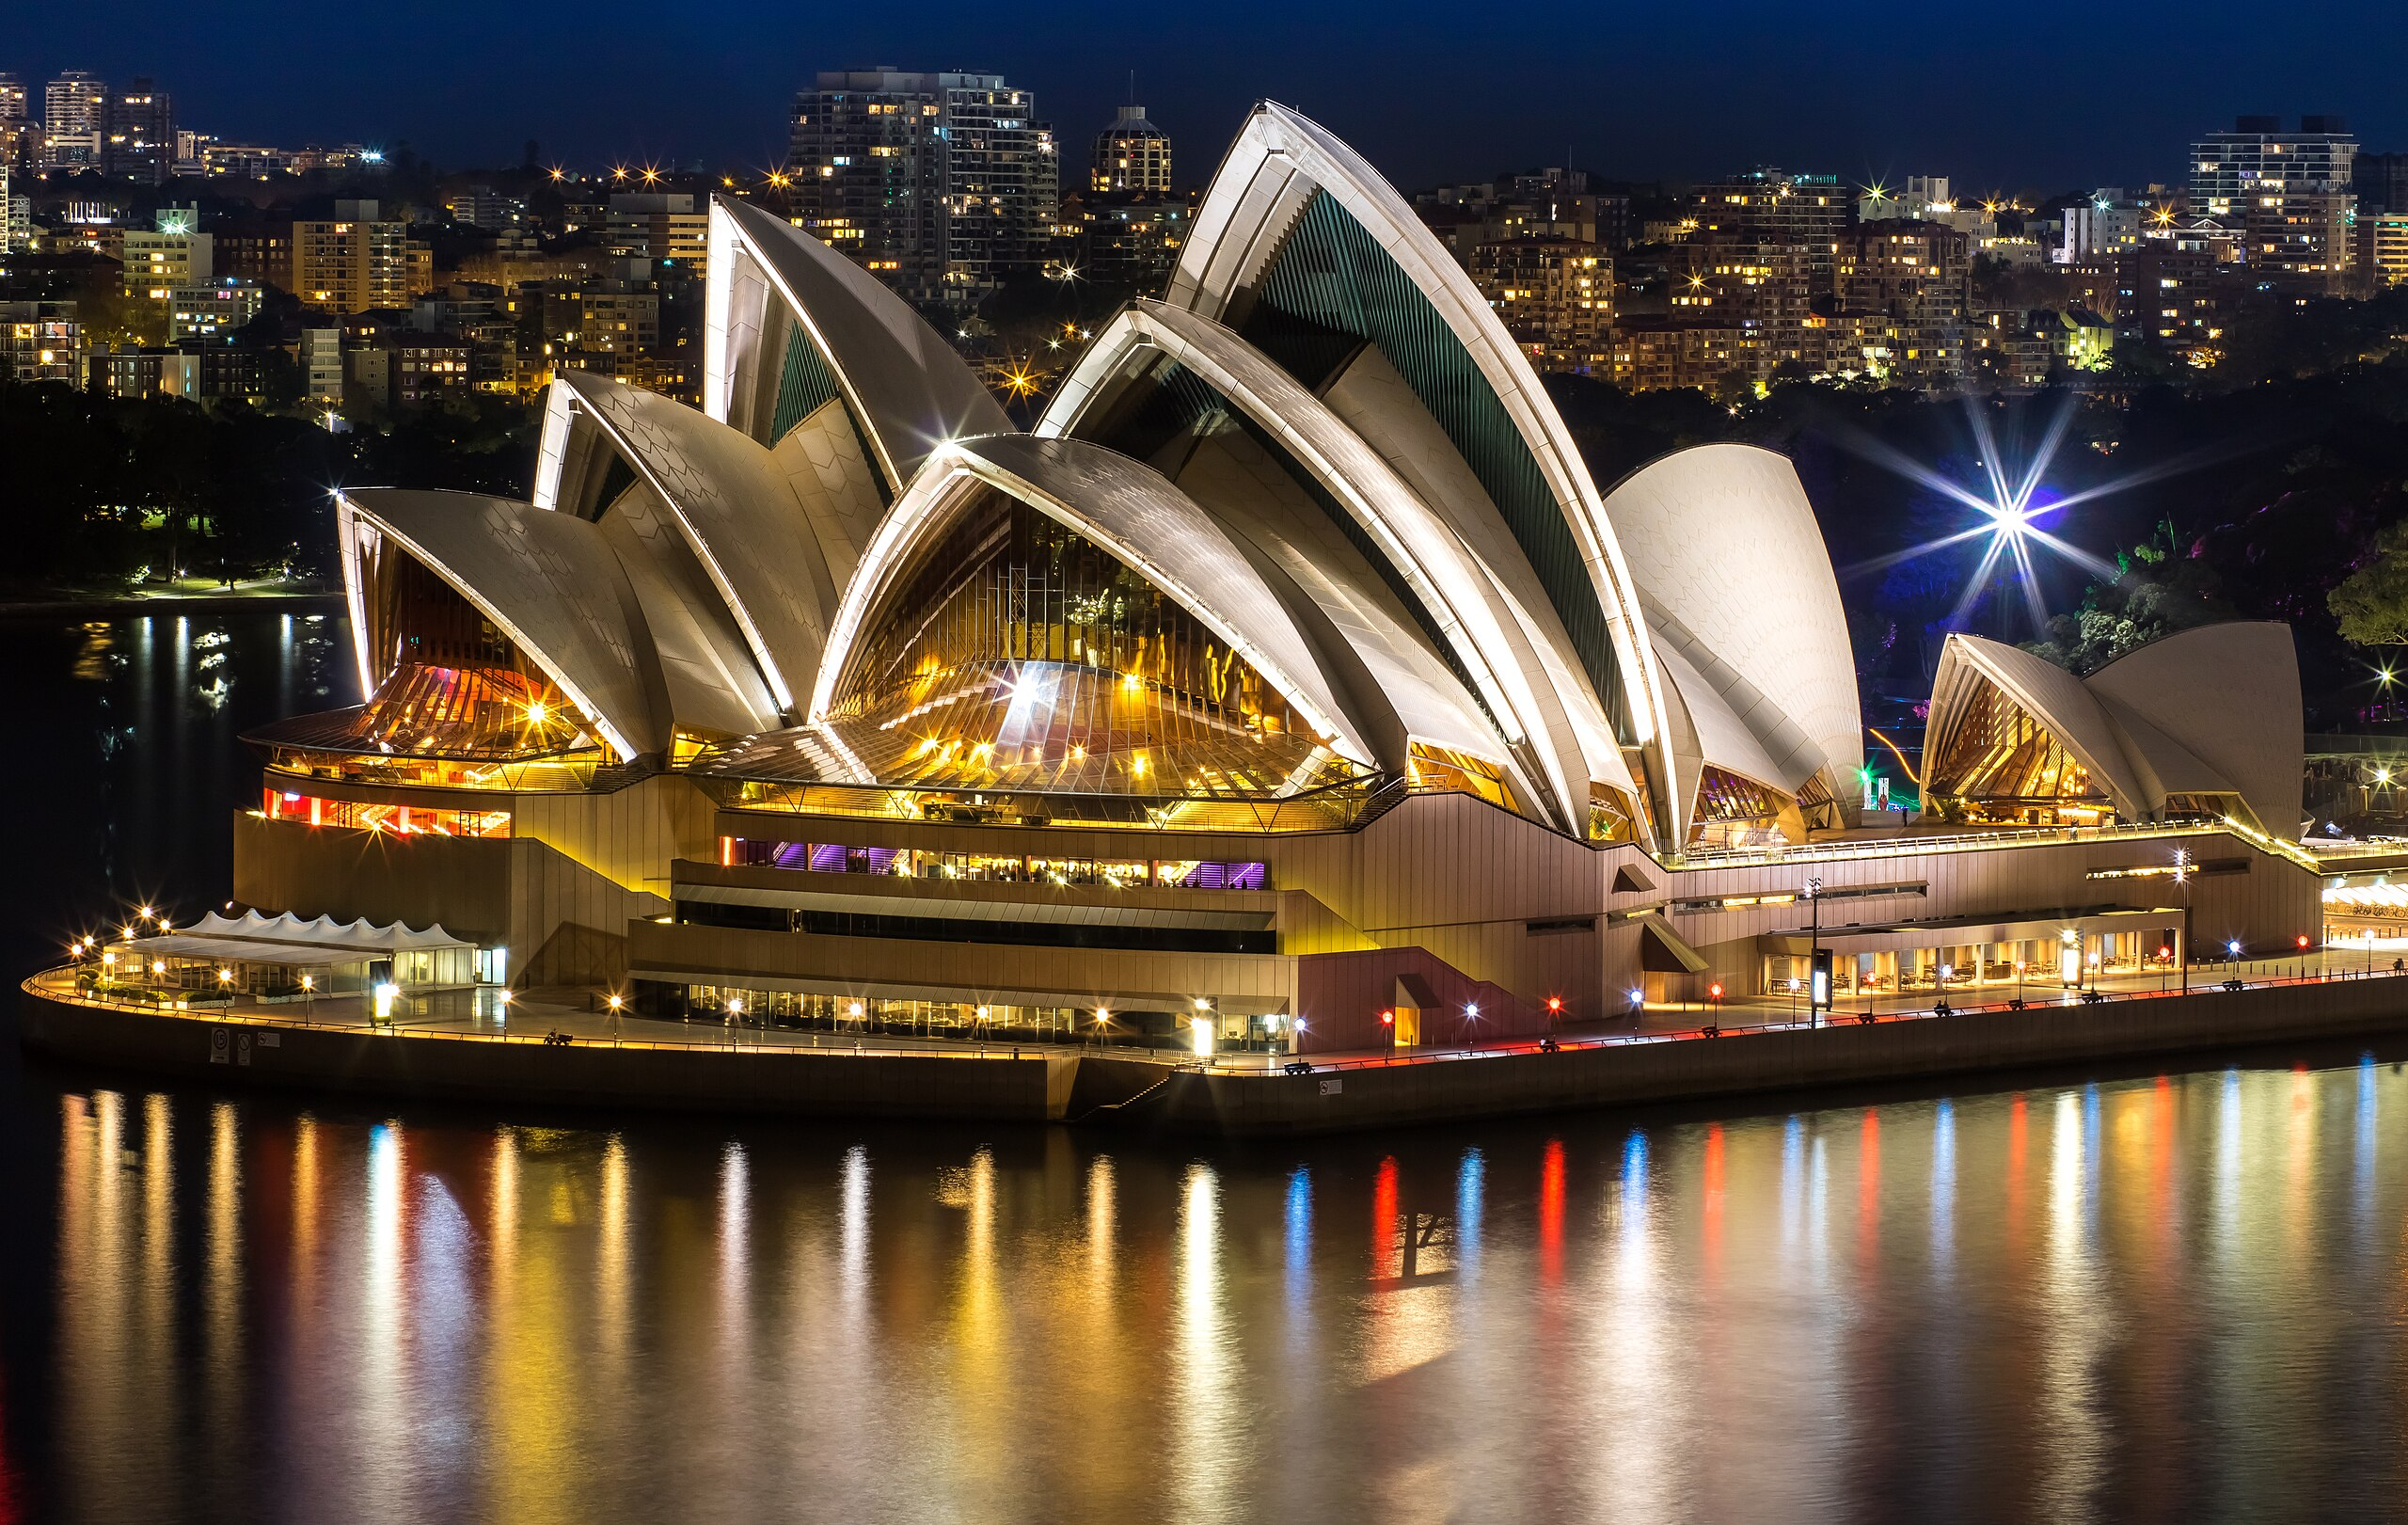
Start your application today and enjoy the beauty of Sydney, Melbourne, the Great Barrier Reef, and more! 🇦🇺🌏

How and Where to Apply for an Italy Schengen Visa in the Philippines – 2025 Guide

If you’re dreaming of Italy’s historic piazzas, art, and cuisine, you’ll need a Schengen Visa as a Philippine passport holder. Fortunately, the application process is straightforward—especially when you follow this updated 2025 guide.

Where to Apply: Italy Visa Application Centers Across the Philippines

You cannot submit a Schengen visa application directly at the Italian Embassy unless it’s for diplomatic or adoption cases. In fact, all tourist, business, and family visa requests are handled by VFS Global via their Visa Application Centers (VACs):

  • Manila (Taguig): Ground Floor, One Campus Place Bldg A, McKinley Town Center, Fort Bonifacio, Taguig City
  • Cebu: Unit 1001C & 1004B, 10th Floor, Kepwealth Center, Samar Loop cor Cardinal Rosales Ave, Cebu City
  • Batangas City: LS‑18, Ground Floor, Xentro Mall Batangas Terminal, Alangilan, Batangas City
  • Davao: FES 08, 2nd Floor, Alfresco Area, Felcris Centrale, Quimpo Blvd, Davao City

For diplomatic/adoption visa purposes only, you may contact the Italian Embassy in Manila:
5/F Tower B, One Campus Place, McKinley Hill, Taguig City – by appointment via email.

You can walk in to VFS without an appointment—there is an additional fee for this service. But online appointment booking is strongly recommended via the VFS website.

Step-by-Step Application Process

1. Book Your Appointment

  • Create an account on the VFS Global portal and choose your preferred date and center.
  • Appointments typically open up to six months before travel.
  • While walk-ins are accepted, it’s safer to book online to avoid delays.

2. Prepare Required Documents

Make sure to organize originals and photocopies of the following:

  • Schengen visa application form, fully completed
  • 1 passport-sized photo (white background; ears visible)
  • Current passport (valid at least 3–6 months beyond stay)
  • Copies of previous passports and visas
  • Proof of travel: flight reservation, itinerary
  • Proof of accommodation: hotel bookings or invitation (“Dichiarazione Garanzia e/o Alloggio”)
  • Travel health insurance: €30,000 minimum, covering entire Schengen area plus 15 days extra
  • Proof of financial means: bank statements (3–6 months), credit card statements, bank certificates, etc.
  • Proof of ties to the Philippines: e.g., employment documents, real estate, family certificates
  • Proof of occupation:
  • Employed: Certificate of Employment, leave, ITR
  • Self-employed: business registration, financials
  • Student: Enrollment certificate, school leave

3. Attend Your VFS Appointment

  • Arrive early—bring originals, photocopies, and all documents.
  • Submit your application and pay:
    • Schengen visa fee: approx. €90 (~PHP 5,650) (adults)
    • Reduced fee: ~€45 (~PHP 2,827) for ages 6–12; free for under 6
    • VFS service fee: approx. PHP 1,759
    • Your biometrics (fingerprints and photo) will be taken (mandatory from January 2025), and stored in the system for 59 months—no need to repeat for future applications.

4. Track and Wait

  • Processing typically takes up to 15 calendar days, but may extend to 30 days if needed.
  • VFS provides tracking via SMS or online portal.
  • Travelers report varying timelines—from 10 days to over a month.

5. Collect Your Passport

  • You’ll be notified when your passport is ready. You can pick it up at your chosen VFS center.
  • If authorizing someone else to collect, be sure to ask what documents they need (e.g., authorization letter, receipt, ID).

Final Tips for a Smooth 2025 Application

  • Apply as early as possible, especially during high season.
  • Double-check all documents for completeness and consistency.
  • Choose funds that are stable, regular—you don’t need massive deposits but avoid red flags like lump sums.
  • Expect variation in processing times—plan travel after considering potential delays.

Applying for a visa can feel overwhelming, but with the right preparation and a clear plan, you’re already halfway there. Whether you’re heading to Rome, Venice, Florence, or the Amalfi Coast, Italy is worth every step of the process.

Take your time, double-check your documents, and give yourself plenty of lead time before your intended travel date. And most importantly—stay calm, stay organized, and stay excited.

Buona fortuna (good luck) with your application—and may your Italian adventure become one for the books!

How and Where to Apply for a Schengen Visa (Spain) in Manila – A Complete Guide for Filipino Travelers (2025)

Spain is one of the most popular destinations in Europe for Filipino travelers—whether you’re heading there for tourism, business, or to visit family. If you’re a Philippine passport holder, you’ll need to apply for a Schengen Visa before you can enter Spain

In this blog post, I’ll walk you through the step-by-step process of applying for a Spain Schengen Visa via the Spanish Embassy in Manila, including where to book an appointment, what documents to prepare, and what to expect.

📍 Where to Apply for a Spain Schengen Visa

The Spanish Embassy in Manila does not accept direct walk-in visa applications. All short-stay Schengen visa applications for Spain must be submitted through BLS International, the official outsourcing partner of the Spanish Embassy in the Philippines.

✔️ BLS Spain Visa Application Center – Manila

🗓️ Step 1: Book an Appointment Online

To submit your application, you must book an appointment in advance through the BLS website:

👉 Go to: https://ph.blsspainvisa.com
👉 Create an account and select a time slot
👉 Print your appointment confirmation

💡 TIP: Appointments fill up fast, especially during travel season. Book at least 3 to 4 weeks in advance.

🧾 Step 2: Prepare Your Documents

Make sure to gather all required documents before your appointment. Here’s what you’ll need:

📝 Basic Requirements:

  • Completed Schengen Visa application form
  • Recent passport-sized photo (35x45mm, white background)
  • Valid passport (at least 3 months beyond your stay)
  • Photocopy of passport (data page + previous visas)

✈️ Travel Documents:

  • Flight reservation (dummy booking is acceptable)
  • Hotel booking or accommodation proof
  • Travel insurance (coverage of at least €30,000 for entire Schengen area)

💰 Proof of Financial Means:

  • Bank statements for the past 3 months
  • Bank certificate
  • Employment certificate or business documents
  • Income Tax Return (ITR)

📄 Supporting Documents:

  • Cover letter (explain purpose of travel and travel itinerary)
  • If employed: COE, payslips, approved leave
  • If self-employed: Business permits, DTI/SEC registration
  • If student: School ID, proof of enrollment
  • If sponsored: Affidavit of support and sponsor’s documents

💵 Step 3: Pay the Fees

Visa and service fees must be paid in cash during your appointment:

Fee TypeAmount
Visa Fee (Adult)€90 (₱~5,500)
BLS Service Fee₱1,030
Optional Add-ons (SMS, courier, photocopy)Additional charges

🏢 Step 4: Go to Your BLS Appointment

  • Arrive at least 15 minutes early
  • Bring all original and photocopied documents
  • Dress smartly and follow all instructions inside the visa center
  • Your biometrics (photo and fingerprints) will be taken

🧍‍♂️ Companions are generally not allowed unless necessary (e.g., minors or PWD)

⏳ Step 5: Wait for Processing

Visa processing usually takes 7 to 15 working days, but can extend up to 30+ days depending on your case.

Track your application via the BLS tracking tool or via SMS if you availed of the update service.

📦 Step 6: Collect Your Passport

You’ll be notified once your passport is ready for pickup. Collection is usually between 2:00 PM and 4:00 PM on weekdays.

If someone else will collect it for you, they must bring:

  • Authorization letter
  • Your original receipt
  • Photocopy of their valid ID

🛑 Common Reasons for Rejection

Avoid these common pitfalls:

  • Incomplete documents
  • Insufficient funds or bank history
  • Invalid or missing insurance
  • Vague purpose of travel

✅ Always ensure consistency across your documents—especially your itinerary, bookings, and employment records.

✨ Final Tips

  • Apply at least 3 weeks in advance
  • Double-check document requirements via the official BLS website
  • Bring extra photocopies just in case
  • Keep your communication clear and confident

📣 Need Help?

If you’re unsure about your application, you can consult travel agencies or visa assistance services. Just make sure they’re reputable.

Or, visit the official Spanish Embassy website for updates:
👉 https://www.exteriores.gob.es/Embajadas/Manila/en/

🎒 Ready to Explore España?

Now that you know the process, it’s time to gather your documents, book that appointment, and start planning your Spanish adventure. ¡Buen viaje!

How to Secure an AOSG (Affidavit of Support & Guarantee) for Filipino Tourists: A 2025 Guide

If you’re traveling abroad soon and someone is sponsoring your trip, Philippine immigration may require an Affidavit of Support & Guarantee (AOSG). This document helps show you won’t become a burden while abroad and addresses anti-trafficking concerns.


What Exactly Is an AOSG?

An AOSG is a sworn statement from your sponsor—relative, friend, or entity abroad—promising to cover your expenses (airfare, lodging, daily costs) and ensure your return to the Philippines. Immigration may ask for it if they find your personal financial documents insufficient.


When Is an AOSG Typically Required?

  • First-time travelers or those without strong financial proof.
  • Tourists visiting family or friends abroad.
  • Minors traveling without their parents.
  • Any traveler deemed “high risk” by immigration (e.g., insufficient funds).

Required Elements of an AOSG

Your AOSG should include:

  • Sponsor’s details (name, nationality, relationship, connection to traveler).
  • Traveler’s details and purpose of travel.
  • Statement of financial support and guarantee.
  • Notarial acknowledgment (notarized in the Philippines or abroad).
  • Supporting documents:
    • Sponsor’s passport/ID, financial proof (bank statements, payslips, etc.).
    • Proof of relationship (birth or marriage certificates) if relative.
    • Return airline ticket.

Notarization & Authentication Rules

If the sponsor is abroad, the AOSG must be:

  • Notarized by the local Philippine Embassy/Consulate or a public notary abroad, then authenticated or apostilled.
  • If executed in the Philippines, simply notarized by a licensed notary. There’s no need for authentication by embassies.

Step-by-Step: How to Get Your AOSG

  1. Have the sponsor draft and sign the AOSG following the format above.
  2. Include required supporting documents (passports, financial proof, travel itinerary).
  3. Notarize:
    • Locally: visit a Philippine notary public.
    • Abroad: go to a Philippine embassy/consulate for notarization and authentication/apostille.
  4. Send the ORIGINAL signed and authenticated document to the traveler—for presentation to immigration.

Real-Life Insights

> “I used a public notary here in Japan, then had the embassy notarize and apostille it. The physical copy was needed at NAIA just in case.”* — Reddit user

> “Some passengers said they weren’t asked for the AOSG—but it still helps to bring one, especially if you’re sponsored.” — Reddit user


TL;DR Quick Summary

ScenarioRequirement
Self-funded, with proof of fundsAOSG usually not needed
Sponsored by local Philippine sponsorNotarized AOSG is helpful but not required by BI
Sponsored by someone abroadNotarized + authenticated AOSG strongly recommended
No proof of funds or first-time travelerAOSG may be demanded at immigration exit

Final Thoughts

An AOSG isn’t a standalone visa document, but it can be your safety net—especially if you’re traveling with sponsorship or limited funds. Secure it early and travel confidently!

How to Write a Visa Cover Letter That Works – Tips for Filipino Travelers

📄 Why Your Visa Cover Letter Could Make or Break Your Application?

Applying for a tourist or immigration visa? Many Filipino travelers underestimate the power of a well-written visa cover letter—also known as a letter of intent. But in reality, it could be the extra push you need for visa approval.

Whether you’re applying for a Schengen, U.S., UK, Canada, Japan, or Korea visa, a strong cover letter can help explain your purpose, intentions, and ties to the Philippines in a personal and persuasive way.


🎯 What Is a Visa Cover Letter?

A visa cover letter is a one-page formal document that accompanies your application. It explains:

  • ✅ Your travel purpose
  • ✅ Trip duration and itinerary overview
  • ✅ Who will fund your trip
  • ✅ Your strong ties to the Philippines (family, job, business, etc.)
  • ✅ A polite request for visa approval

🇵🇭 Why It’s Important for Filipinos

Filipino passport holders often face stricter visa scrutiny due to higher rates of overstay or illegal work abroad. Your cover letter can serve as your voice—providing context and intent that documents alone can’t show.

It helps:

  • 📌 Show that your visit is temporary and purposeful
  • 📌 Address possible red flags (e.g. unemployed sponsor, frequent travel, etc.)
  • 📌 Highlight strong ties (like a permanent job, enrolled school, or business)

📝 What to Include in Your Cover Letter

Here’s a simple structure:

  1. Header: Your name, address, contact info, and date
  2. Embassy/Consulate address
  3. Subject: Visa application – [Tourist/Visit/Student/Etc.]
  4. Opening greeting (e.g., Dear Visa Officer)
  5. Introduction – Who you are, your travel purpose, and basic trip details
  6. Trip explanation – dates, destinations, who you’re traveling with
  7. Financial support – who’s paying for the trip and their relationship to you
  8. Proof of ties – explain why you’ll return (work, family, etc.)
  9. Closing request for visa approval, thank them for their time
  10. Sincerely, Your full name and signature

📌 Sample Cover Letter Snippet


Dear Visa Officer,

My name is Juan Dela Cruz, a full-time employee at ABC Corporation in Makati, Philippines. I would like to apply for a tourist visa to visit Japan from December 1 to December 8, 2025. The purpose of my trip is leisure and cultural exploration. I plan to visit Tokyo, Kyoto, and Osaka.

All travel expenses will be covered by me, and I have attached my bank certificate and employment certificate as proof of financial capacity and strong ties to my country.

I respectfully request that you consider my application. I assure you that I will comply with all visa conditions and return to the Philippines as scheduled.

Sincerely,
Juan Dela Cruz

💬 Final Thoughts

A visa cover letter might not be officially required—but for Filipino applicants, it’s your best chance to humanize your application and show that you’re a genuine visitor. Write it carefully, submit it confidently, and let it support your documents with a strong narrative.

Need a custom cover letter template for your visa type? Let us know in the comments!

🆕 Latest 2025 Updates on U.S. Visa Applications for Filipinos

Applying for a U.S. visa from the Philippines? You’ll need to stay updated—2025 brings major changes that could affect your application. Here’s what’s new and how to prepare:

1. Social Media Must Be Public for F, M & J Visa Applicants

As of June 2025, Filipino applicants for F (student), M (vocational), or J (exchange visitor) visas must set their social media profiles to public to allow U.S. Embassy vetting. Inaccessible profiles can lead to delays or even visa denials.

2. Separate Biometrics Appointment Now Standard

Starting early 2025, the U.S. Embassy in Manila mandates a separate biometrics visit at the Visa Application Center (VAC) before the visa interview. This means two appointments—one for photos/fingerprints and another for the consular interview. Experienced applicants should note this when planning travel for these steps.

3. Updated Immigrant Visa Interview Requirements

From May 19, 2025, the embassy has begun canceling interviews if applicants don’t bring all necessary original documents. Missing even one document can push your appointment back by months, potentially affecting eligibility timelines and legal provisions.

4. New U.S. Immigration Fee in the Works

On July 11, 2025, USCIS announced plans for additional fees on select immigration benefit applications. The affected categories and fee amounts are still pending. Stay tuned for updates if you’re applying for immigrant or other benefit visas.

5. Stricter Screening for Family-Based Visa Applications

Effective August 1, 2025, USCIS implemented tighter vetting and interview rules for family immigration petitions. These changes aim to reduce fraud and ensure legitimacy in family-based visa applications.


💡 Quick Summary Table

UpdateKey Change
Social Media ScreeningF/M/J applicants must make profiles public
Biometrics AppointmentSeparate VAC visit required before interview
Interview FinesNo originals = canceled/rescheduled interview
New USCIS FeesUpcoming fees for certain applications
Family Visa ChangesStricter vetting for family-based visas

Tips to Stay Ahead of the Curve

  • Double-check social media settings before submitting your DS‑160.
  • Schedule your biometrics and interview well in advance, especially if you’re outside Metro Manila.
  • Prepare all original documents ahead—missing documents now result in canceled interviews.
  • Watch for communication from USCIS on new fees to avoid surprises.

Final Thoughts

These updates mark a significant shift in how Filipino applicants apply for U.S. visas. Proper planning, thorough documentation, and staying informed are now more critical than ever for success.

Planning to apply soon? Let us know your visa category and I can help craft a checklist tailored just for it!

✈️ How to Apply for a Japan Tourist Visa at VFS in the Philippines (2025 Edition)

Planning to visit Japan? Since April 7, 2025, all tourist visa applications from the Philippines must be processed via VFS Global’s Japan Visa Application Centres (JVACs). Here’s a complete, step-by-step guide to help you through the process—smooth and hassle-free.

1. What’s Changed?

Effective April 7, 2025, the Embassy of Japan shifted all tourist visa applications to VFS-operated centers. Accredited travel agencies no longer submit directly to the embassy.⎯ Visa centers aim to streamline service and reduce errors.

2. JVAC Locations & Hours

  • Metro Manila: Quezon City, Makati, Parañaque
  • Visayas and Mindanao: Cebu City, Davao City
  • Hours (Mon–Fri): Submission until 2 PM (Metro Manila), 12 NN (Cebu, Davao);
  • Passport pickup until 4 PM

3. Booking Your Appointment

  1. Create an account on the VFS Japan visa portal.
  2. Choose your desired JVAC location and visa type (Tourist – Single Entry)
  3. Book the appointment—slots fill fast. You’ll receive a confirmation email (print it!).

4. Required Documents

  • Valid Philippine passport
  • Completed Japan visa application form
  • Recent 45 × 35 mm color photo (plain background)—strict specs apply
  • Itinerary in Japan
  • Proof of funds (e.g., bank certificate, ITR)
  • PSA birth certificate (if applicable)

5. Fees to Prepare

  • Visa Fee: Free for Philippine nationals applying for tourist visa.
  • VFS Service Fee: PHP 520 (paid at the center)
  • Optional Add-ons: Premium lounge (~PHP 1,500), SMS updates, courier services.

6. On Appointment Day

  • Arrive ≥15 minutes early.
  • Bring printed confirmation, documents, and payment.
  • Submit your application—processing is typically fast (though queues may form).

7. Processing & Passport Collection

Processing usually takes 5–7 business days in Metro Manila; 10 business days in Cebu/Davao.⎯ Courier service available for home delivery.

8. Pro Tips for Smooth Processing

  • Apply at least 60 days before travel—slots fill quickly.
  • Use accurate keywords like “Japan tourist visa single entry Philippines” when searching online.
  • Double-check photo specs to avoid rejection.
  • Track your application via the VFS portal or SMS updates.

9. Final Reminder

All Japan tourist visa applications in the Philippines must be processed via VFS JVACs from April 2025 onward. No walk-ins. Appointment scheduling and complete documentation are essential for a successful application.

Good luck, and safe travels to Japan!

🛒 Top Digital Products na Mabenta sa Etsy (2025)

🎯 Gusto Mong Kumita Online? Subukan ang Pagbebenta ng Digital Products sa Etsy!

Ngayong 2025, isa sa mga pinakamabilis na paraan para kumita online ay sa pamamagitan ng digital products—at ang Etsy ang isa sa mga pinaka-popular na platform para dito.

Hindi mo kailangan ng physical inventory o delivery. I-upload mo lang ang produkto, at instant download na ito para sa customer. Ang kailangan mo lang ay tamang produkto at mabisang SEO strategy.


📘 1. Digital Planners at Journals

Bakit patok: Maraming tao ang gustong maging organized gamit ang digital tools. Mabenta ang daily planners, goal trackers, at gratitude journals.

SEO tip: Gamitin ang keywords tulad ng “GoodNotes planner,” “2025 digital planner,” at “hyperlinked PDF.”


🎨 2. Printable Wall Art

Bakit patok: Murang dekorasyon? Yes please! Ang mga digital prints para sa bahay o opisina ay sikat sa mga tipid-savvy na customers.

SEO tip: Subukang gamitin ang “boho printable wall art,” “minimalist nursery print,” at “downloadable quote poster.”


💻 3. Canva Templates

Bakit patok: Perfect ito para sa content creators at small business owners. Mula sa Instagram posts hanggang business cards—lahat editable sa Canva!

SEO tip: Ilagay ang “editable Canva template,” “Instagram pack,” at “social media template.”


🖋️ 4. Digital Stickers

Bakit patok: Cute at functional! Mabenta ang stickers para sa digital planners gaya ng GoodNotes. May themes para sa holidays, productivity, at journaling.

SEO tip: Keywords tulad ng “kawaii digital stickers,” “GoodNotes sticker pack,” ay effective.


🗂️ 5. Notion Templates

Bakit patok: Dahil sa kasikatan ng Notion, maraming gustong bumili ng pre-made templates para sa productivity, study habits, at business systems.

SEO tip: Gamitin ang “Notion planner,” “aesthetic Notion template,” at “Notion dashboard for students.”


💸 6. Budget & Finance Trackers

Bakit patok: Maraming nagtitipid at nagbubudget, kaya sikat ang mga financial printables gaya ng savings trackers, cash envelope systems, at expense logs.

SEO tip: I-include ang “monthly budget spreadsheet,” “debt tracker printable,” at “cash envelope template.”


📝 7. Resume & Cover Letter Templates

Bakit patok: Ang job seekers ay laging naghahanap ng professional-looking na resumes. Mas ok kung Canva-editable or MS Word format.

SEO tip: Ilagay ang “modern resume,” “editable CV,” at “ATS resume template.”


🔍 Etsy SEO Tips para Mas Dumami ang Benta

  • ✅ Gumamit ng lahat ng 13 tags sa bawat listing
  • ✅ Gawing malinaw at keyword-rich ang title mo
  • ✅ Maglagay ng long-tail keywords (e.g., “student digital planner 2025”)
  • ✅ I-describe ng maayos ang produkto sa product description
  • ✅ Mag-offer ng iba’t ibang file formats (PDF, PNG, JPG, ZIP)

🎯 Pro Tip: Mag-Niche Down

Instead of generic products, gumawa ng specific na version. Halimbawa: Hindi lang “budget planner,” kundi “budget planner para sa single moms” or “student digital planner for college freshmen.”


💬 Final Thoughts

Kung gusto mong magsimula ng side hustle o passive income stream ngayong 2025, digital products sa Etsy ang isa sa pinaka-madaling simulan. Mura lang ang puhunan, tapos instant delivery pa sa customers.

🛒 Alin sa mga produkto ang gusto mong subukan? Share mo sa comments!