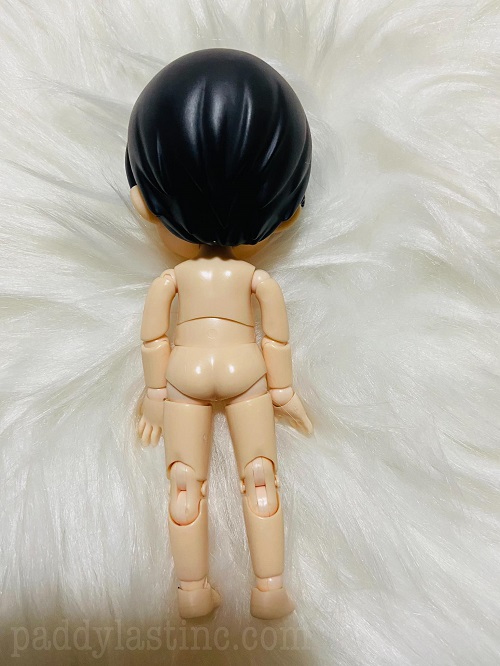
My Obitsu and Nendoroid body comparison post seems to be getting a lot of traction, so I thought of sharing the tips and ways I’ve learned over time on how to attach a Nendoroid head to an Obitsu body, therefore creating what we call an Obitsuroid!
An Obisuroid is basically a hybrid or a combination of a Nendoroid head with an Obitsu body. I’ve only ever tried attaching a Nendoroid head to an 11cm Obitsu body since I’ve started with the hobby in early 2019, so this first episode is will be the few tricks / ways I’ve learned on how to do it.
In this tutorial, I will be sharing that three ways I’ve tried attaching the head of a Nendoroid to an Obitsue body.
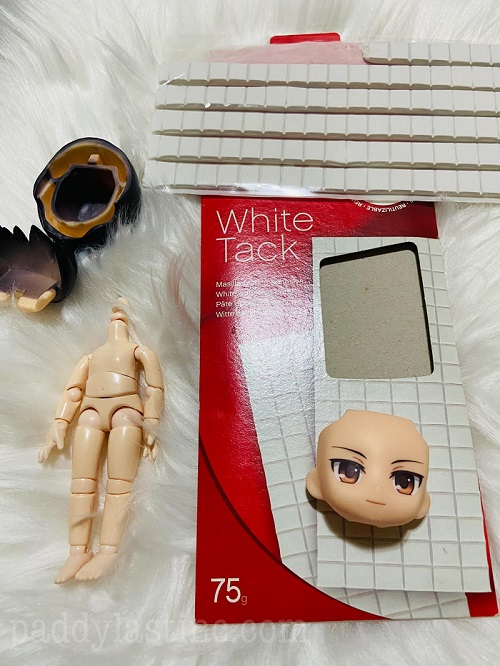
For the first one, we’ll only be needing an Obitsu body of your choice, the latest Nendoroid (faceplate), and some Tack-it (whichever color you prefer, though I’d like to use white tack it with my Obitsuroids.)
It’s just a three-step easy-peasy process:
After choosing your Nendoroid faceplate of your choice, you just have to place a small amount of tack it around the rim of the faceplate.
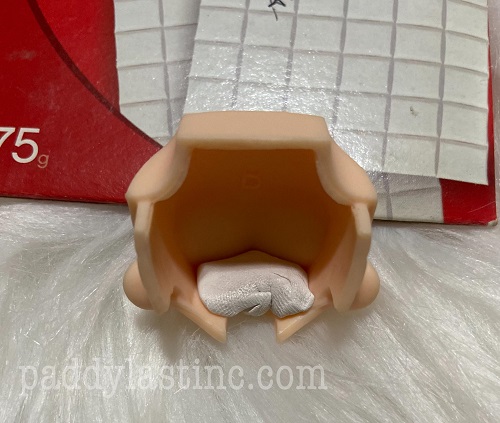
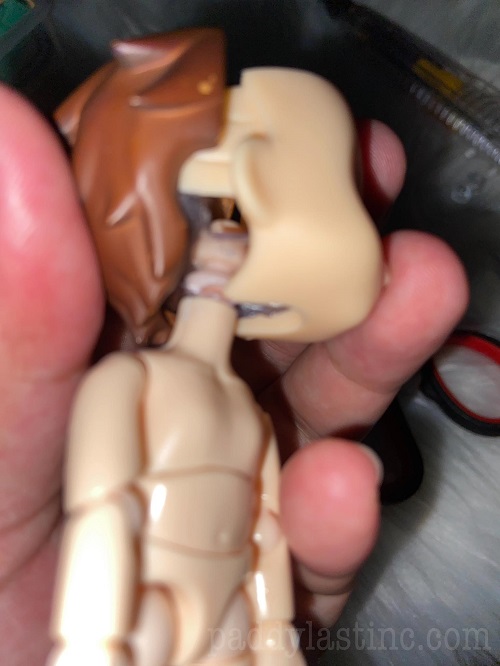
Next is to push the washer of the Obitsu into the rim.
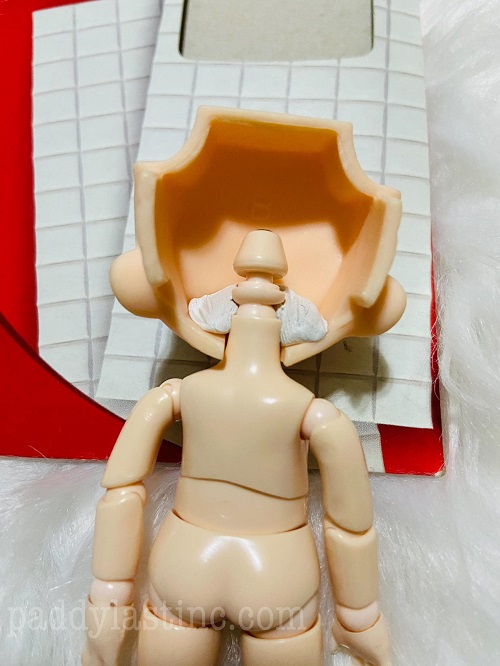
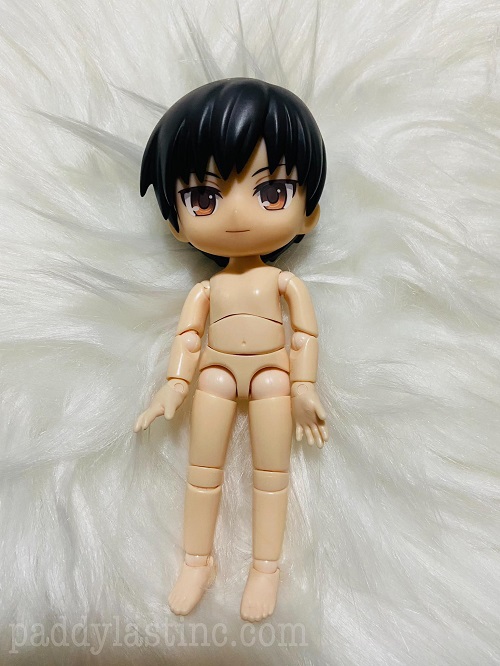
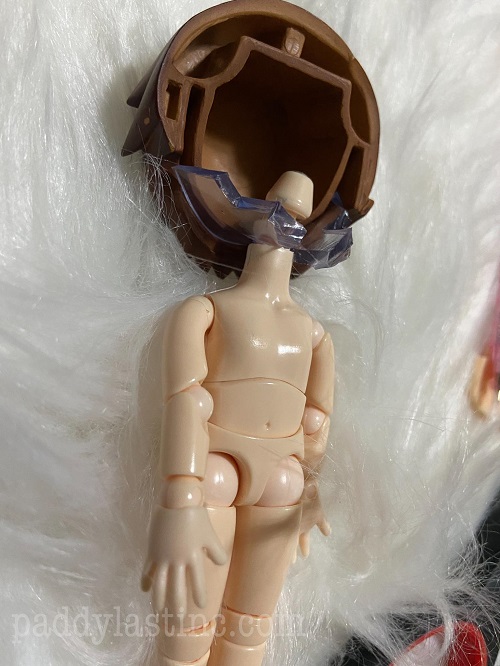
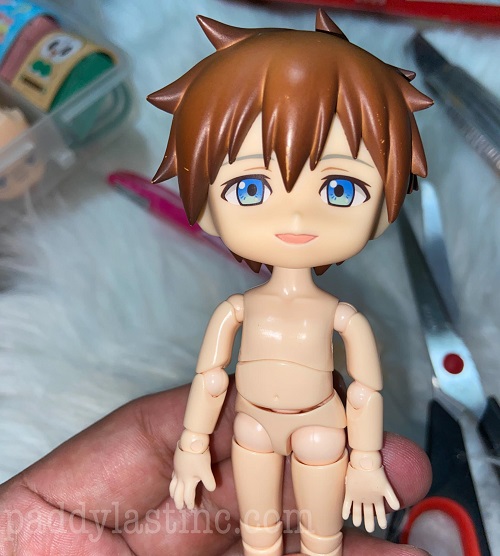
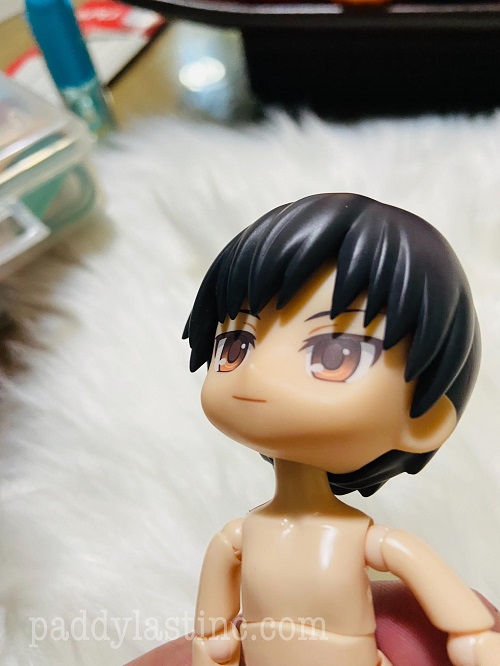
Then simply attached the Nendoroid hair as usual and voilà! You’ve got yourself an Obitsuroid!
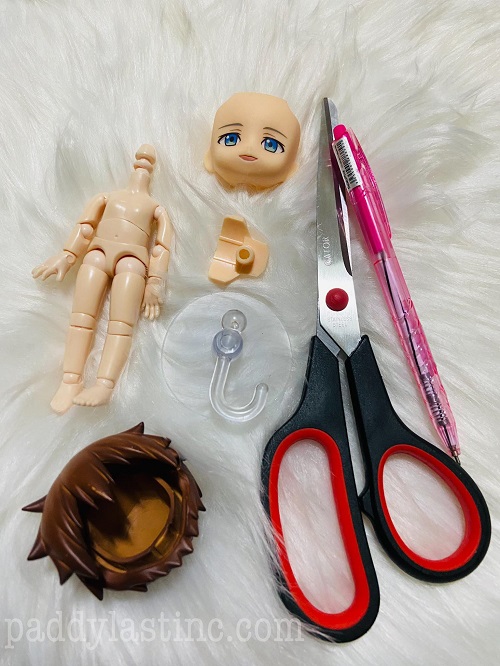
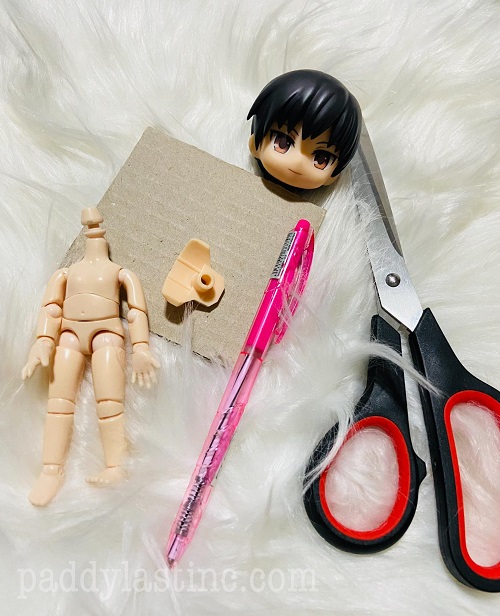
The second trick is to use suctions hook, wall hook, or those clear suction car hook – whatever you wanna call them. In addition to the hook, you’ll be needing scissors or cutter and of course the Obitsu body and the Nendoroid faceplate and a Nendoroid neck connector. (pictured below)
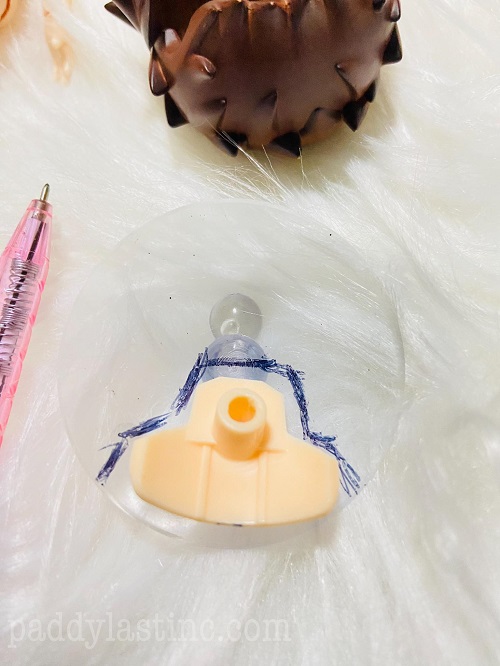
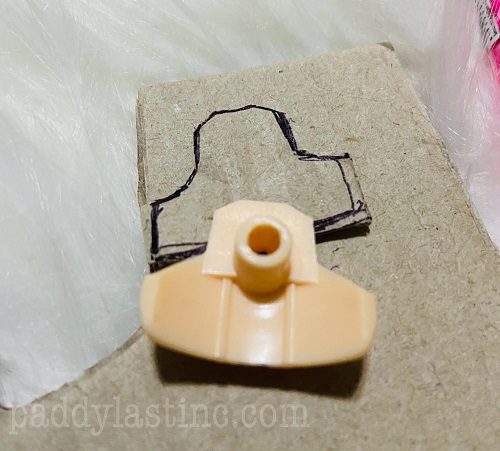
First thing you do is draw a pattern of the neck connector to the clear suction and then precisely cut the suction and that’s it! It will basically hold the washer and will serve as a buffer so that it could hold the head of the Nendoroid.
The last one is basically just the same process as the second one, the only difference is that you’re going to be using a cardboard instead of a suction hook.


I’m personally not a fan of this one because the head always tends to be too wobbly compared to the rubber hook.
On the my future Nendroid Hybrid posts, I will be discussing the YMY body (which I just ordered) and will also compare it to the Nendoroid Body and the Obitsu Body. I heard a lot of good things about it, where you actually don’t need to do all these tricks I’ve just mentioned in this post (ugh) to attach the Nendoroid head so, do watch out for it!